# Widget implementation
Learn how to implement your booking on your website.
Generally said all widget types can be implemented to any type of website or framework based on our proprietary technology we developed to make the website implementation as smooth as possible.
⚠ In case you have a WIX website, check our [WIX implementation guide](https://rentware.com/en/help/wix-booking-implementation/).
---
## Installation
1) Navigate to your **shop** settings and open the **widgets** tab.
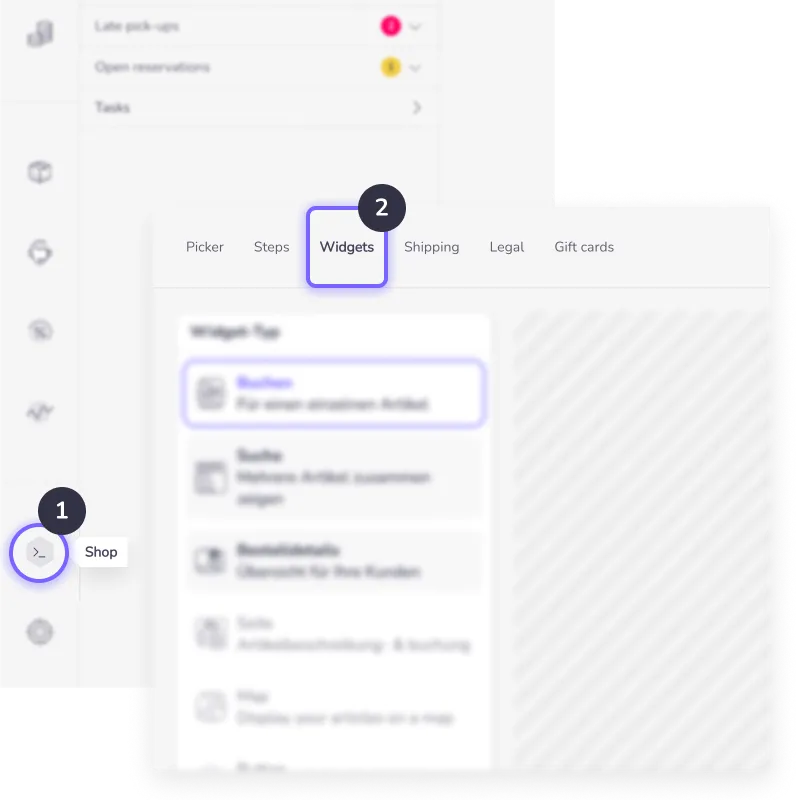
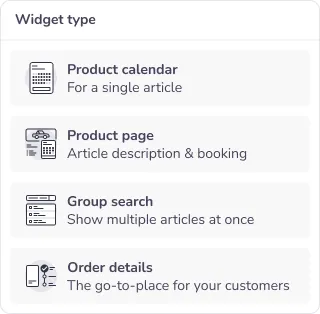
2) Select the **widget type** from the list you want to use.
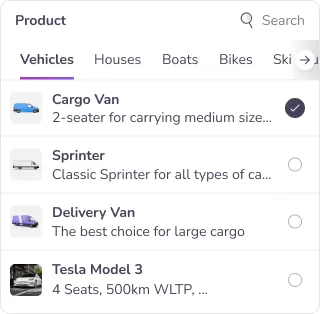
3) Choose the **product(s)** you want to implement.
4) Open the website tab and copy the **code** to your website.
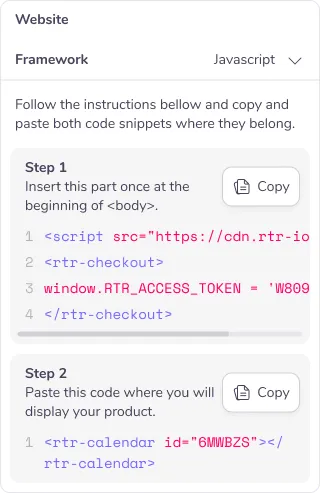
Every widget you want to use has two steps of implementation:
#### Step 1
First copy the link of our general script (only once!) just after your \ tag .
```
```
Afterwards initialize the connection to your inventory with your access token. The widgets pick up the language of your website on their own, see [Multiple languages](https://rentware.com/en/help/widget-implementation/#multiple-languages).
```
```
#### Step 2
Then copy the code snippet of the actual widget, such as the **Order details widget,** to the section of the website where you want to display it.
```
```